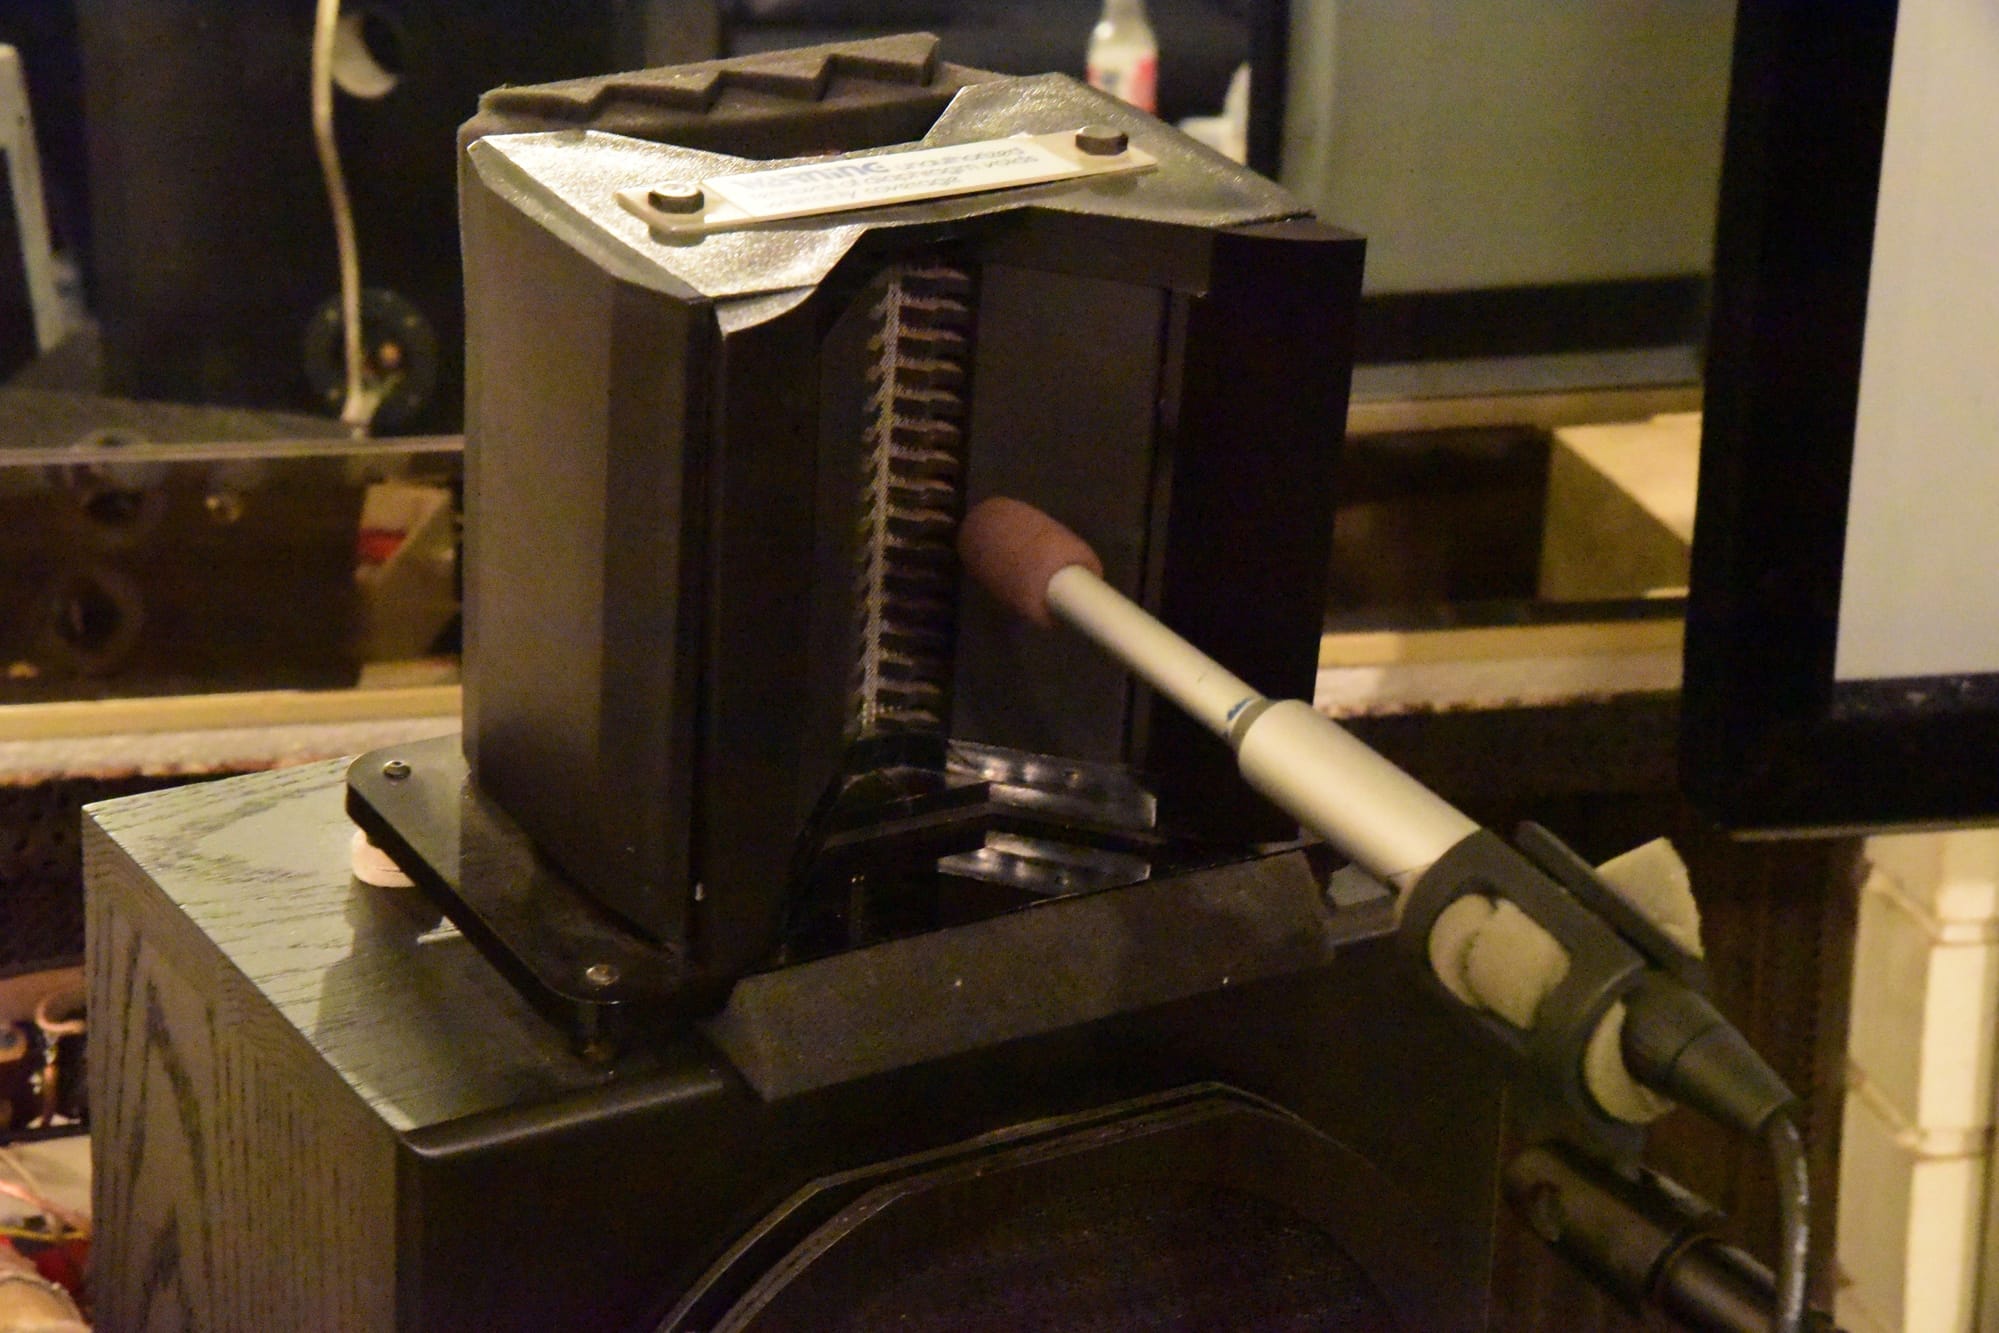
For my next trick...
The cabinets that house my JBL 2241H 18"s (~6.5 cu ft) have two 5" diameter ports. With both open, the cabinets are a bit tubby. The cabinets were intended for PA use at a church, and ported for volume. With one port closed, the tuning is smooth, but too low to really take advantage of what could be and they loose their "character" and some thump. I’m looking for a "happy medium."
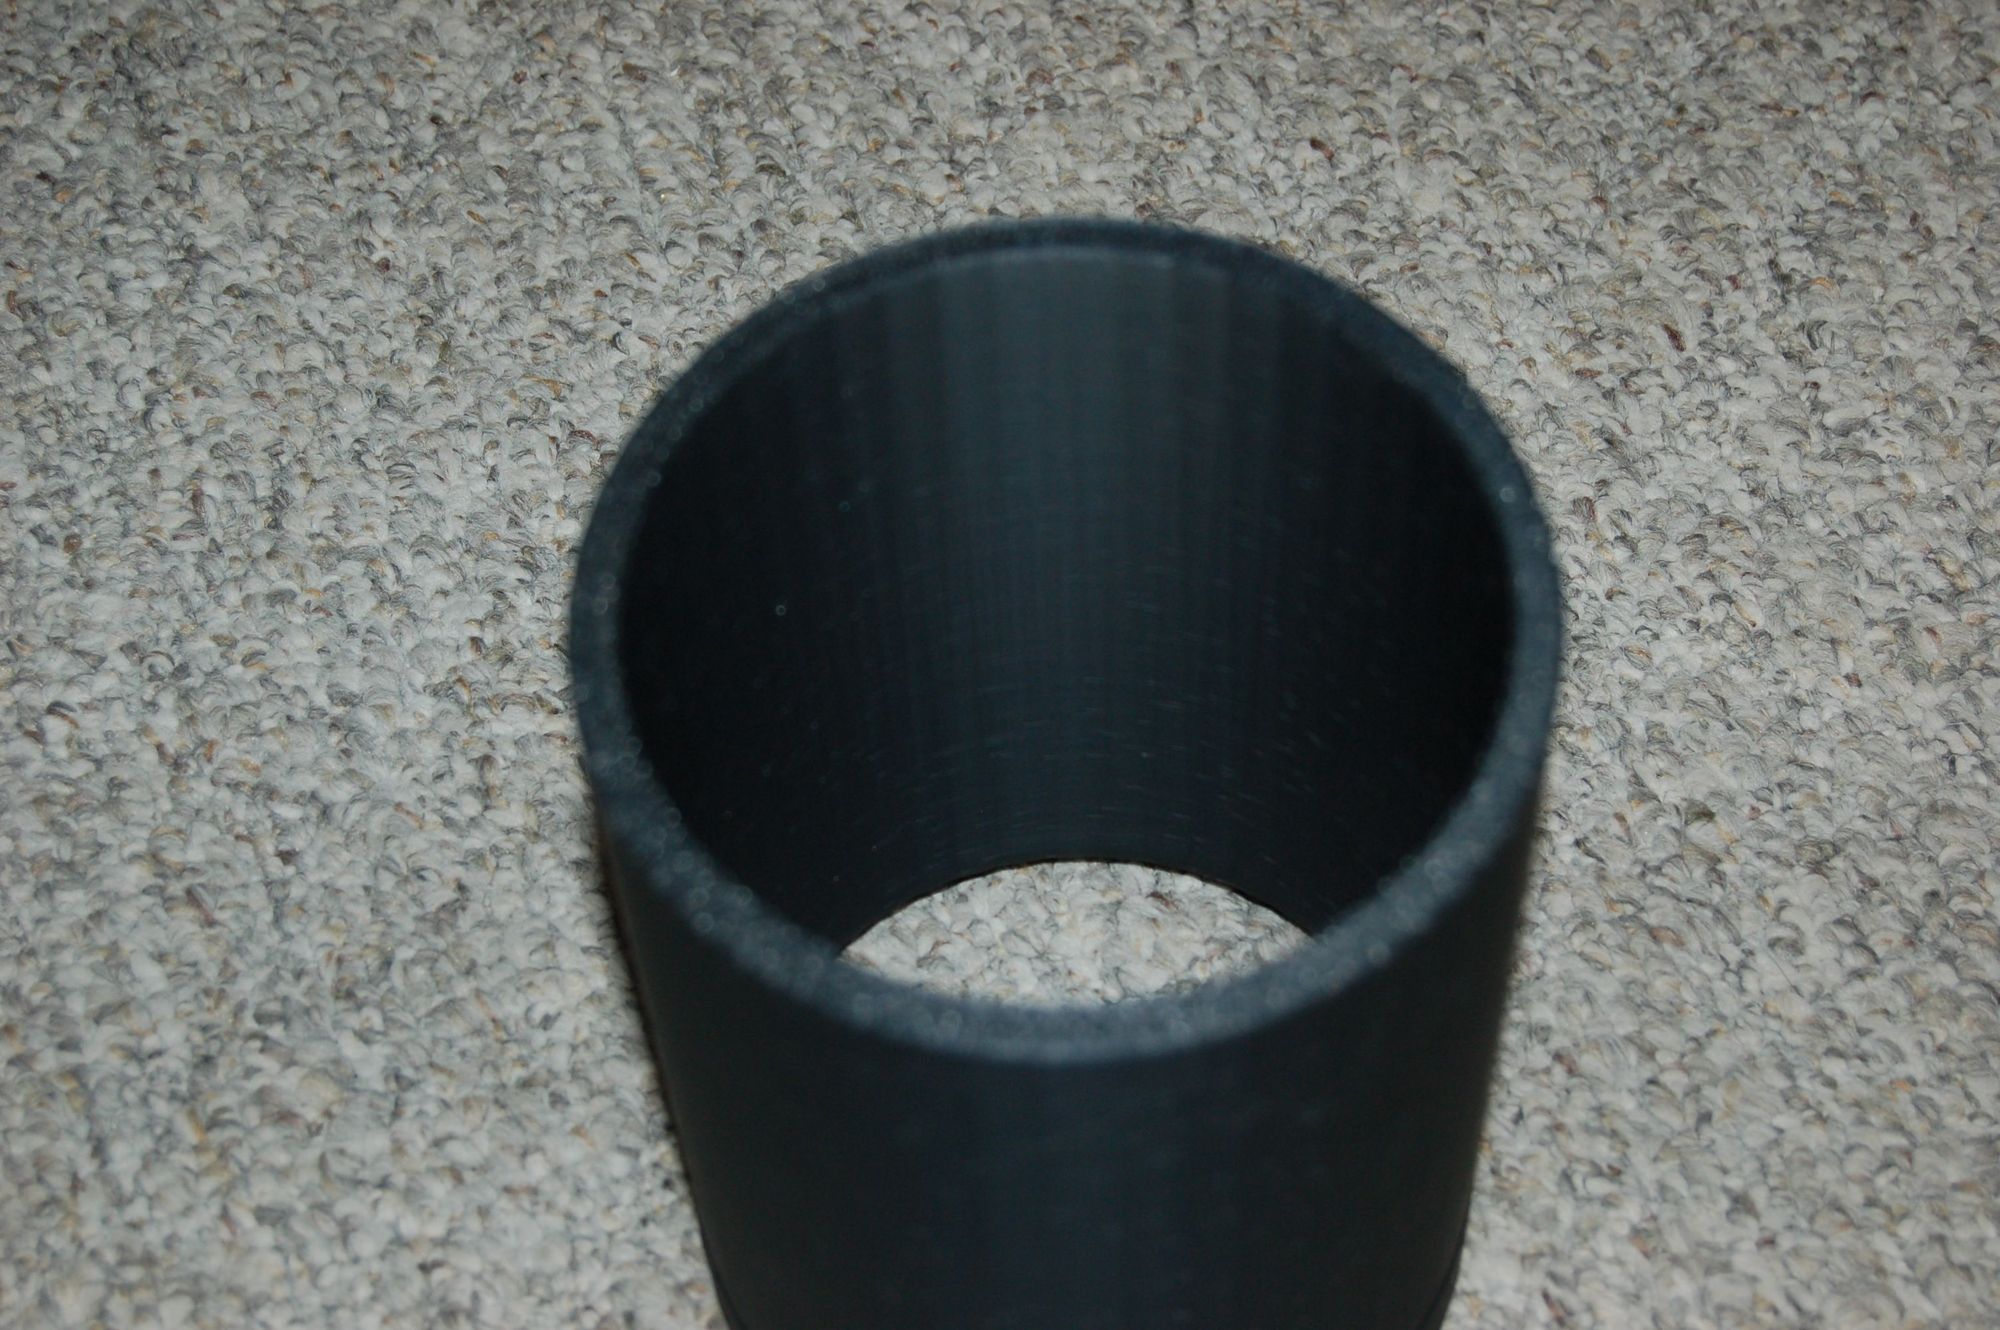
I decided to print some full length reducers. Filament is cheap and it’s just a matter of time. There are two existing ports in each cabinet and each is 6-1/4" long using a 5" diameter "cardboard" tube. I measure an ID of 126.5 mm.
The reducers slide within the existing ports with a nice friction fit. Each is 170 mm (6.7") long including the flair in front of the baffleboard. A rubber band around this lip provides an airtight seal, but allows removal. The reducers have an ID of 112 mm (4.4"). Each one takes 3 hours and 40 minutes to print with a layer height of 0.2 mm (including machine auto set-up) and uses 193 grams of filament. Filament cost $24 for two kilograms. I could make the flares a bit smoother using a 0.1 mm print height, but print time would about double for little benefit. At 0.2 mm per layer, each insert has 868 layers.
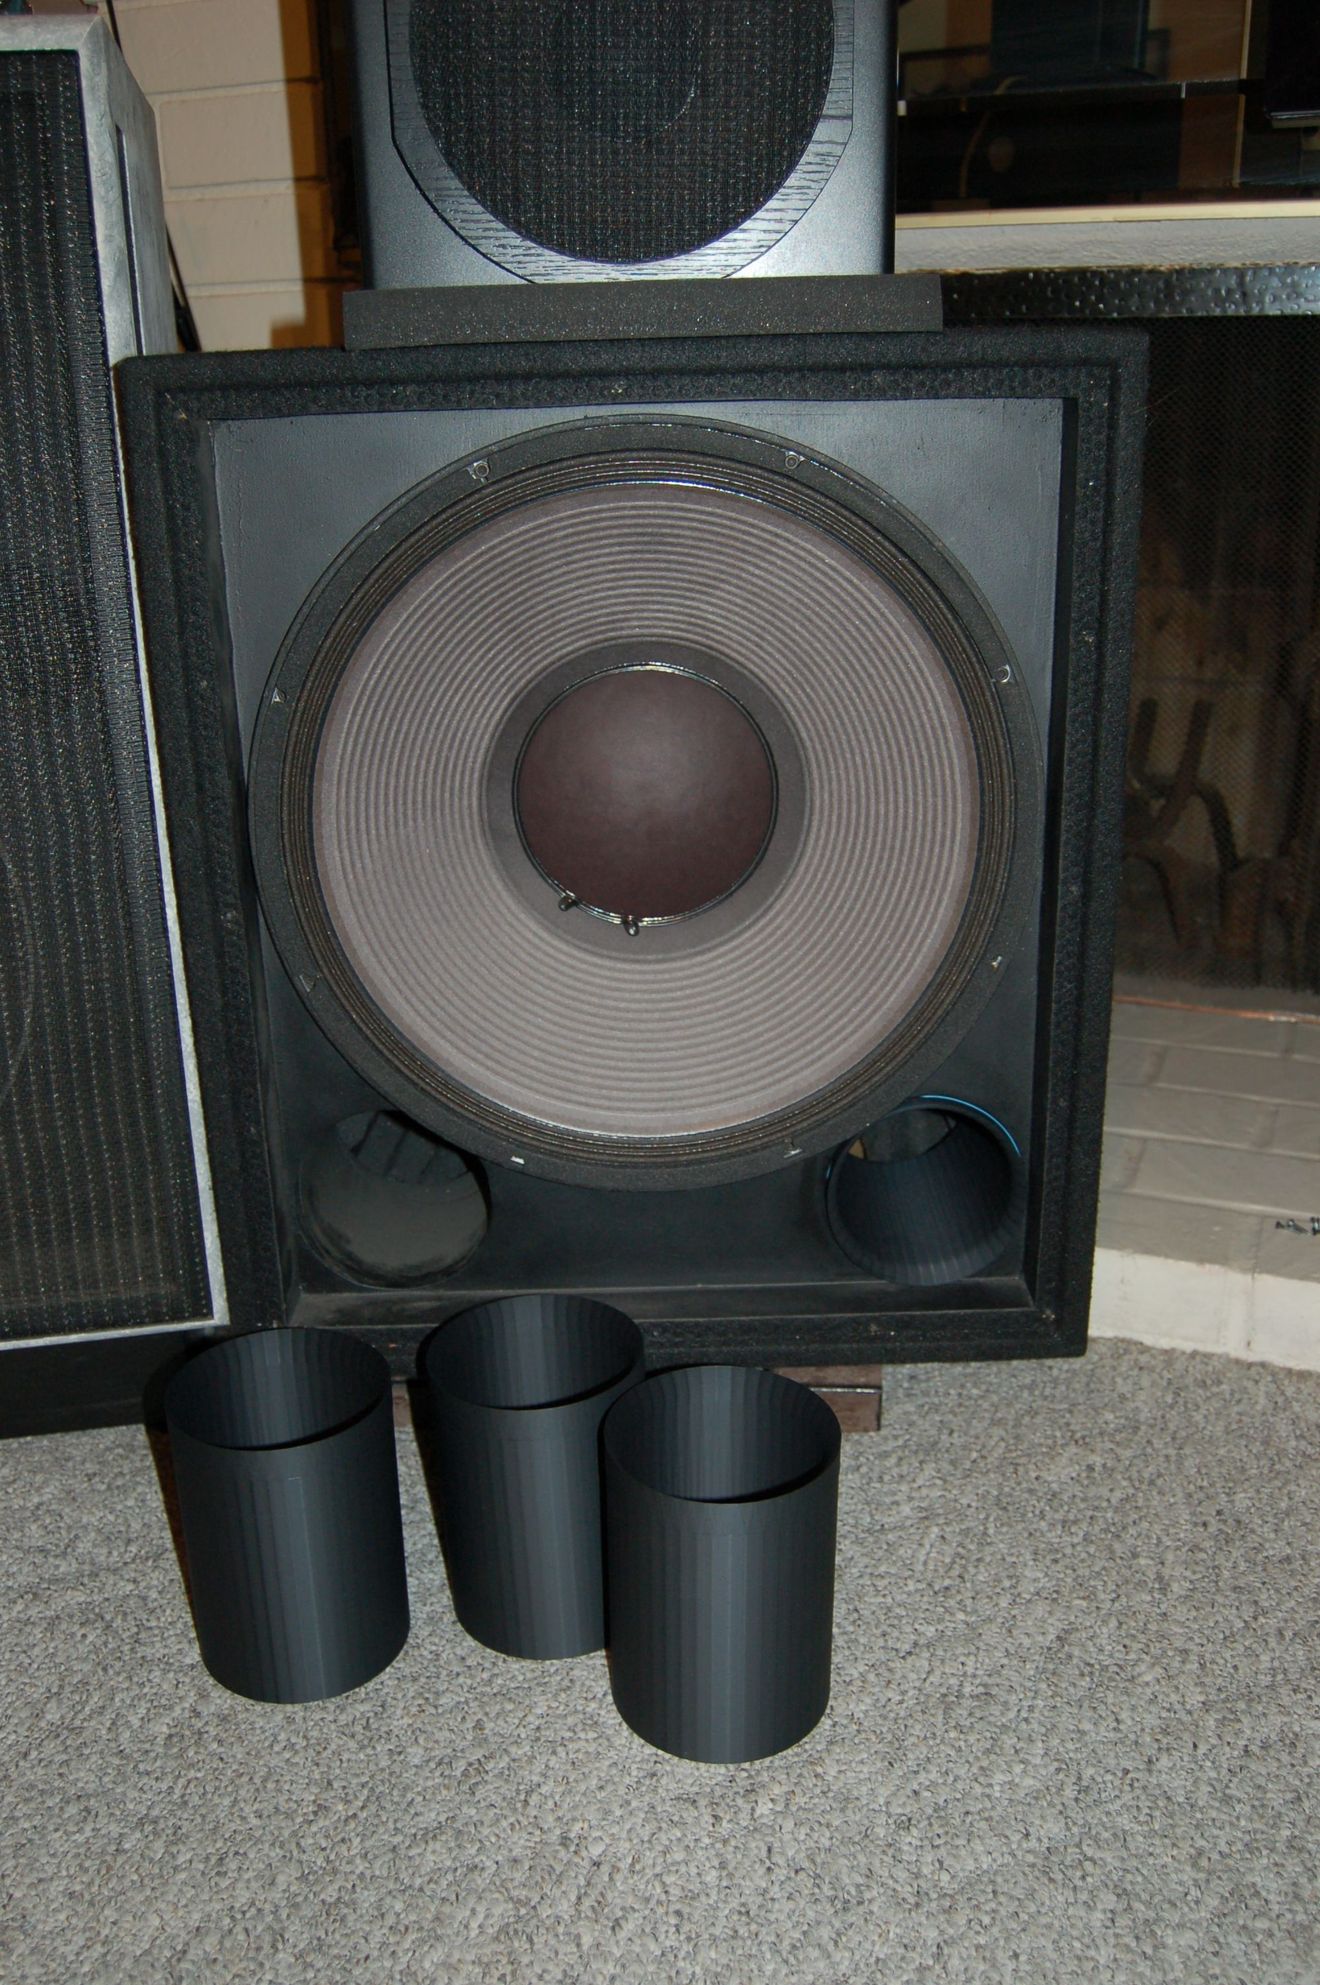
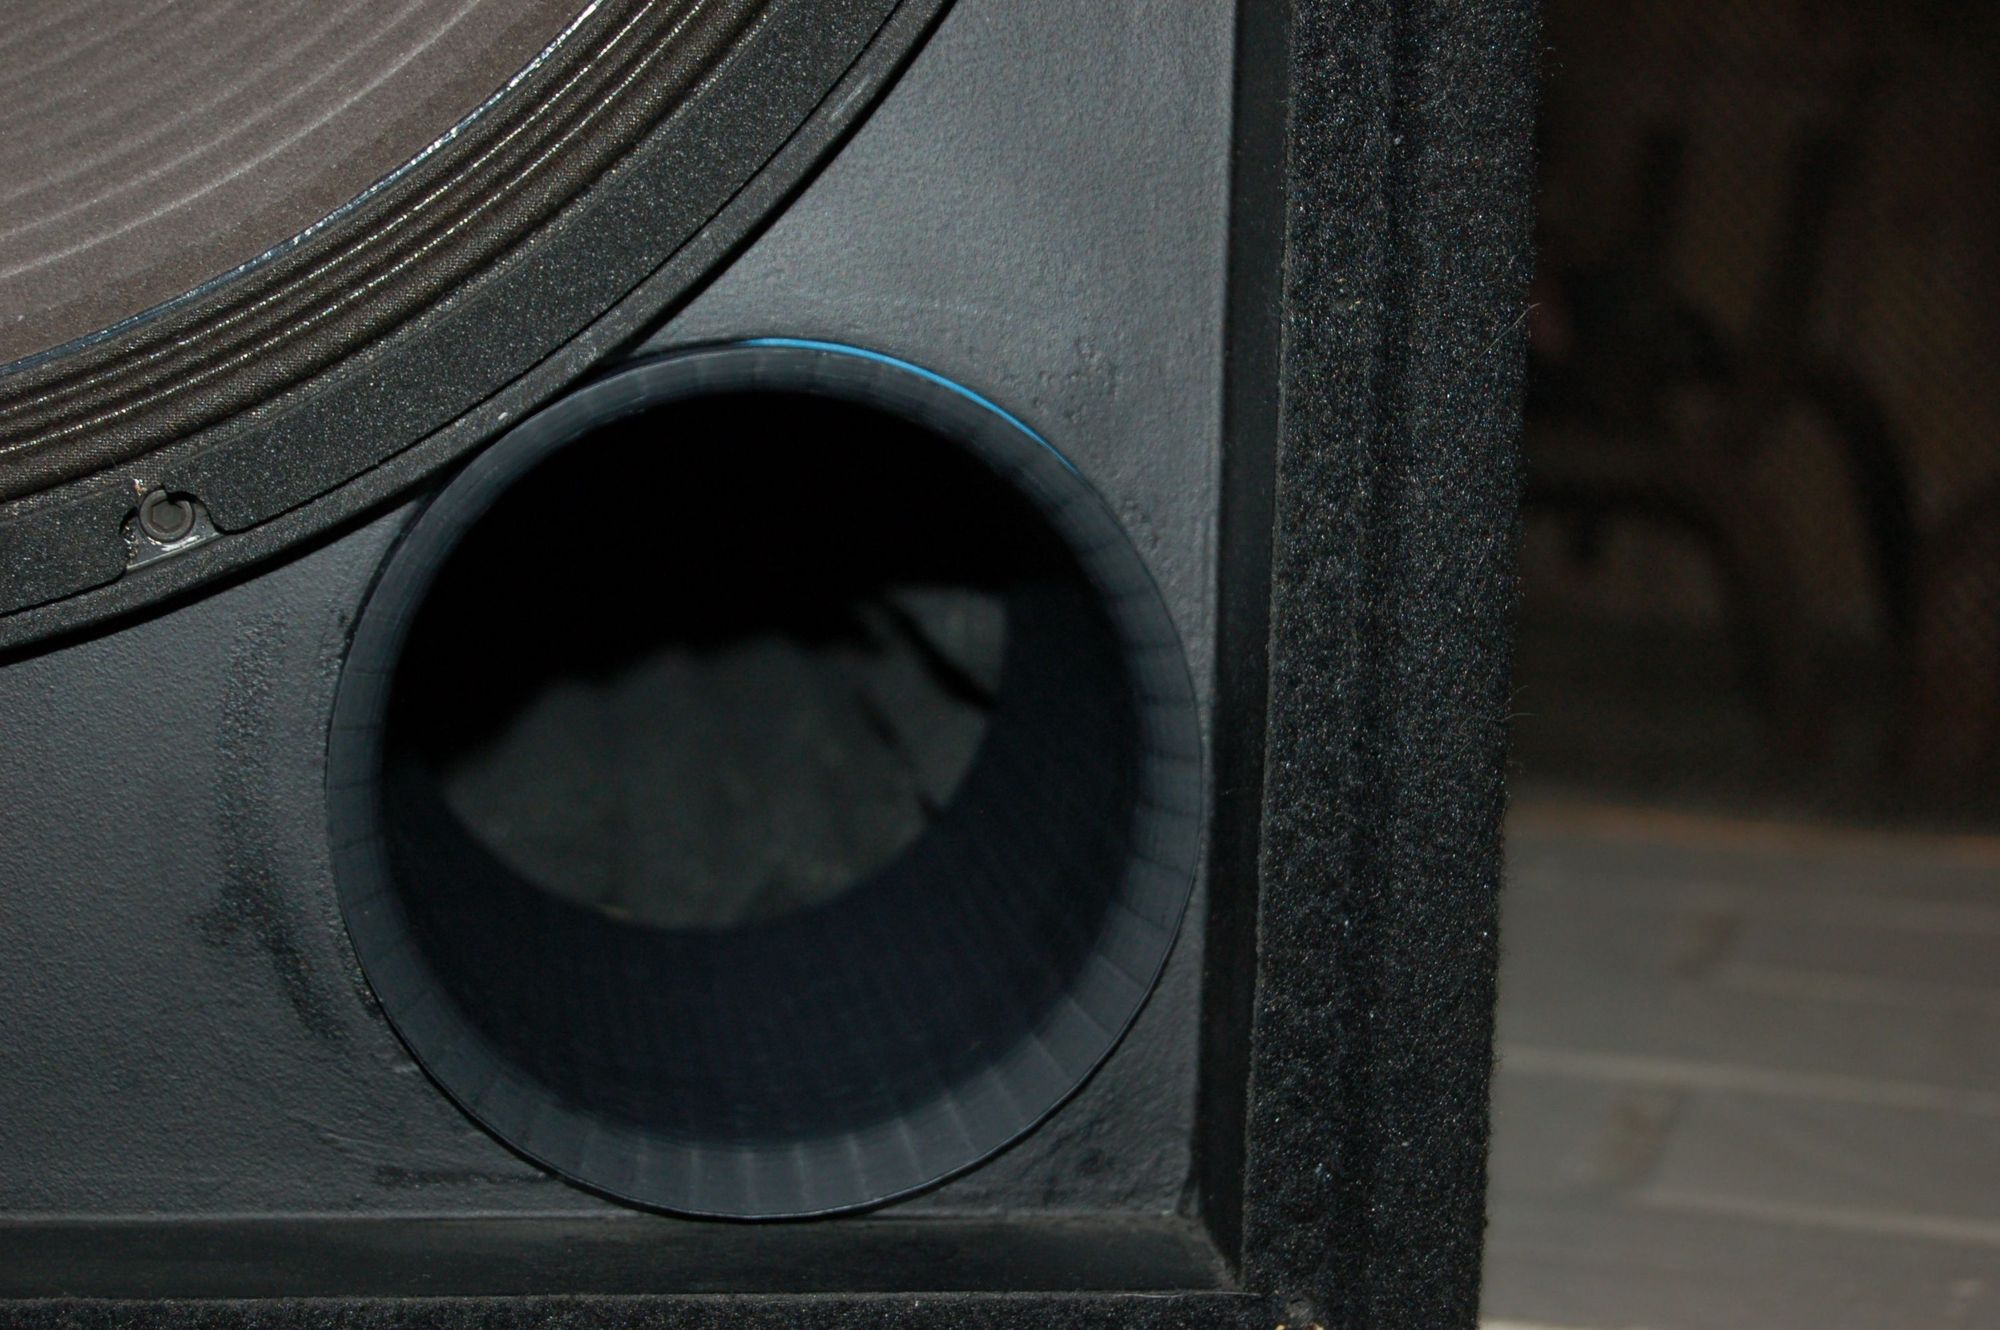
Simple push in. The rubber band serves as a gasket to ensure an airtight seal.
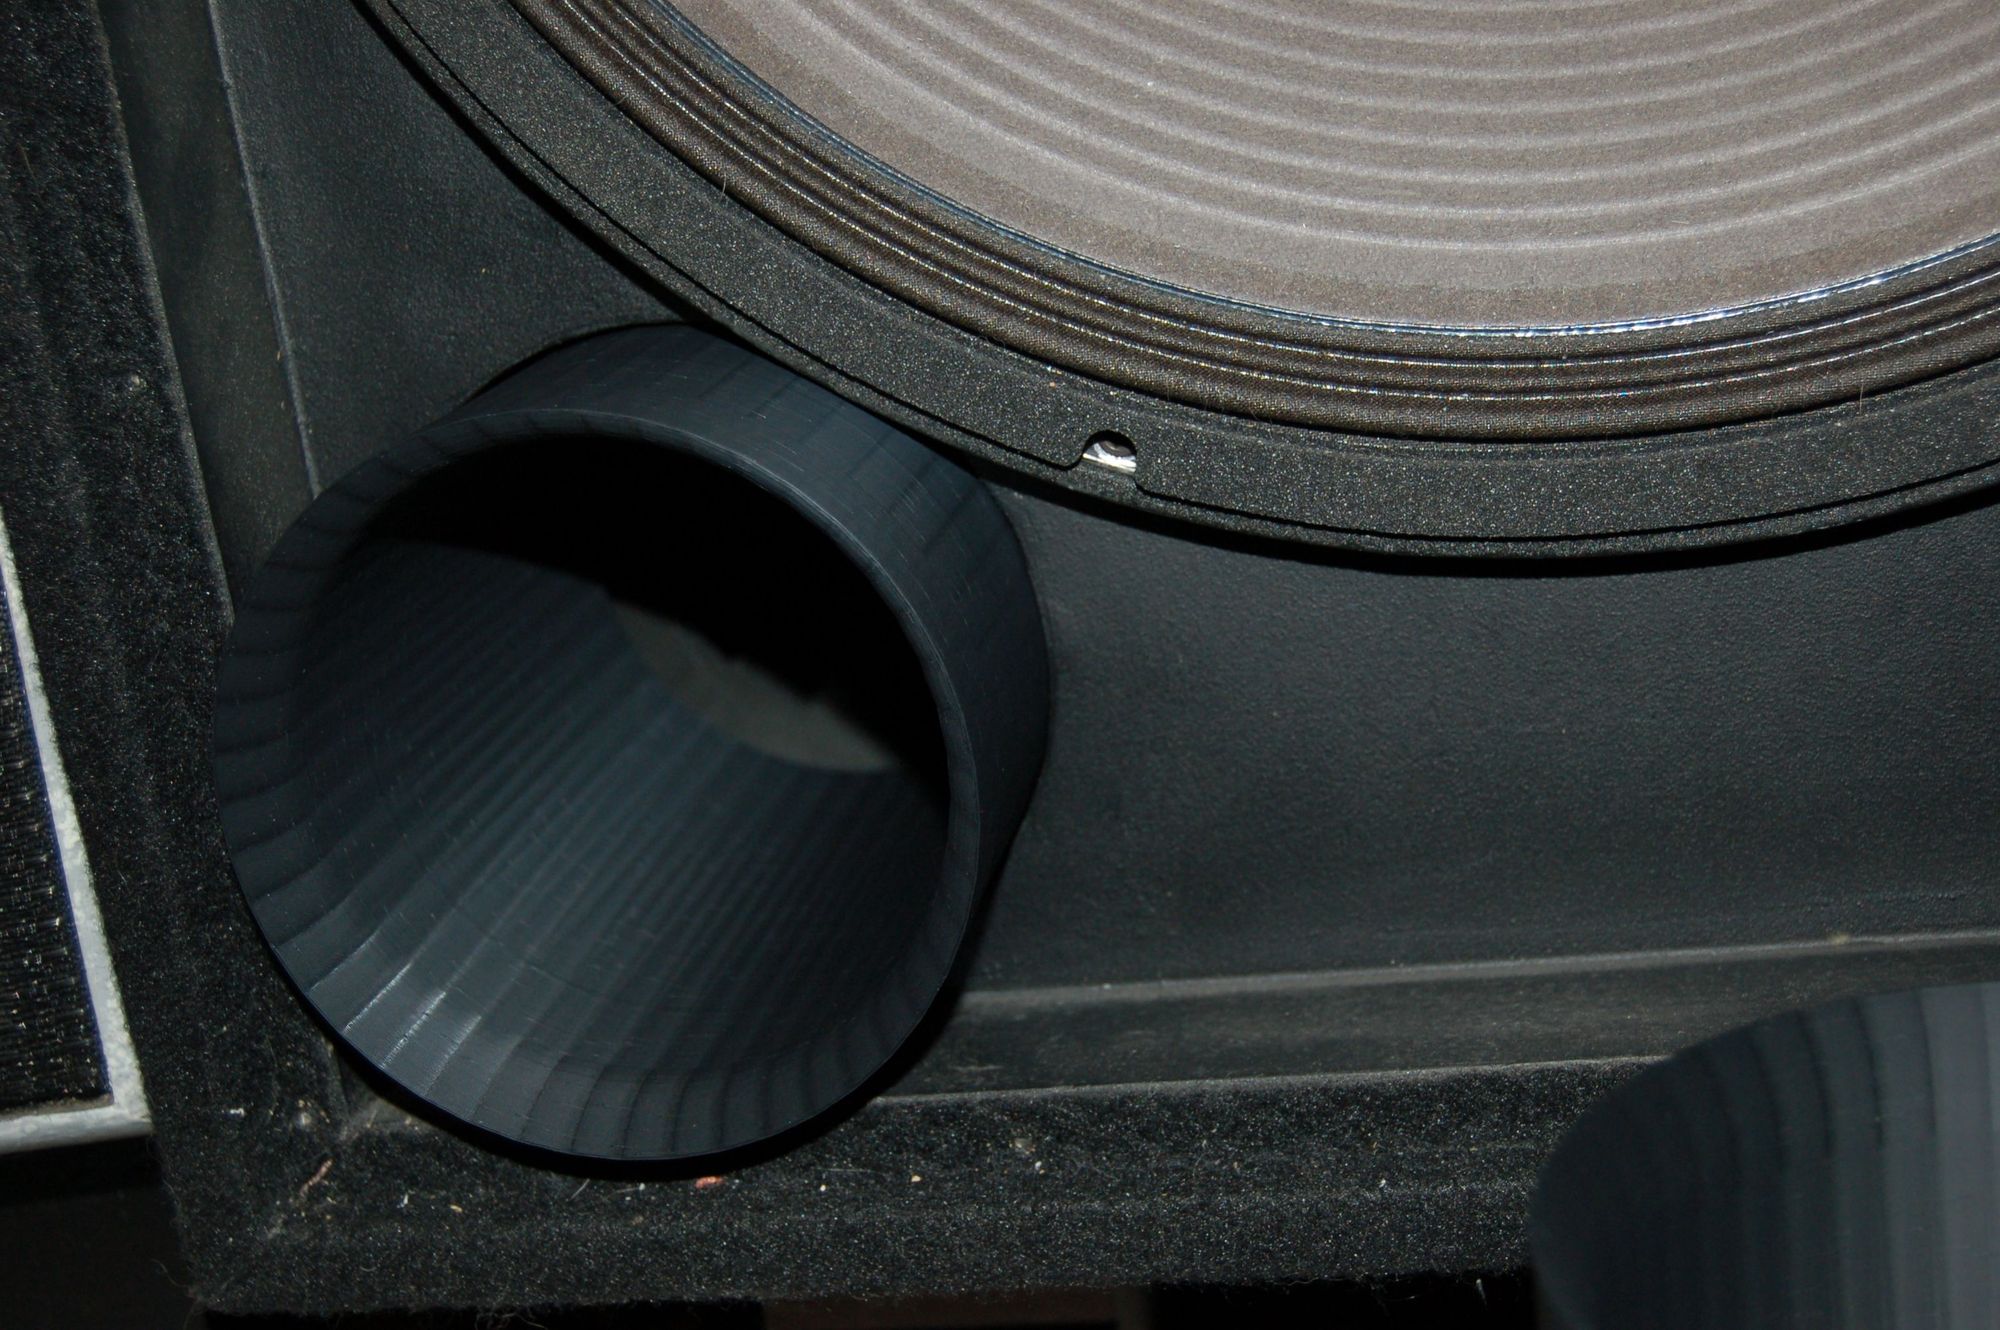
~25% reduction in port area. Covering one port results in a 50% reduction and is too much. Based on the current technology and pricing, there is no reason that every hobbiest/designer should not have a 3D printer! You can get a Bambu Lab "open frame" printer with the same resolution and a 10"x10"x10" build space for <$400. This one (X1C) was $1,100 and the enclosed/heated chamber allows you to work in far more media. And for that it can do four colors, expandable to 16 colors.
Wow, should have done this years ago! With both ports open, the speakers were too tubby, especially on male voices. This would obscure dialog/intelligability. Closing a port took out the tubbiness and intelligability went way up, but the speakers lost their "character" and while the deep bass improved a bit, a good bit of "thump" that we associate with bass, was missing. The cabinets were designed for PA use so were emphasizing overall volume rather than extension.
Adding the inserts still took out the chestiness, but brought back the character. Is it perfect...? No..., just notably better.
The printer just paid for itself let alone the $8 in material. 

